Table of Contents
The morning was a cold, crisp Michigan winter. My firearm deer season hadn't gone so well. I had tried, but just hadn't seen the deer.
The last day of November proved to be different though. The woods were white with drooping pine boughs from the overnight dumping that the weatherman predicted.
It was a great time to be out hunting. Everything was quiet and the deer finally showed up. Their brown coats gave them away as they slipped down the ridgeline I was hunting.
I spotted antlers on the last deer in the bunch and my heart started doing what it always does when I'm getting ready to shoot -- beating a million times a minute.
The deer were meandering, giving me plenty of options. My finger clicked off the safety and I took aim, right after counting the tines (There were nine!)
Letting my breath out and holding it, I squeezed the trigger. The rifle sounded off -- "CLICK!"

Click?
Huh?
I was confused. In my excited and confused state, I racked another round into the Browning 30-06. Naturally the deer all spooked and I didn't get another shot, but I had to know what happened.
There was a round in the chamber. The bolt was solidly in position. I jerked the trigger back just to get the gun to fire, and it once again just clicked. The firing pin was not touching the cartridge at all - and it was all my fault.
I use that rifle once a year. I wipe it down and run a cotton patch down the barrel before it gets put into the gun safe for another year. The trouble is, as I learned from a wonderful gunsmith, that isn't enough.
The internal mechanisms had been lubed at one point, but lube gets tacky after a while. My rifle was gummed up enough that in the very cold weather, the firing pin slowly crawled to the primer instead of ramming it.
What you don't see will hurt you, and I came to find out that there's more to cleaning a rifle than just swabbing it down with a little oil.
My gunsmith went through it all with me and I've been following his advice for years. Although I didn't shoot a deer that year, the firearm cleaning knowledge that I acquired allowed me to shoot many more since then.
These are some of the main things that he emphasized I do:
The Gunsmith's Philosophy: Function Over Finish
The first thing my gunsmith made clear was that we need to stop thinking of cleaning as just rust prevention. A shiny rifle that doesn't fire is just a poorly designed club.
The real goal of maintenance is functionality. We are cleaning for reliability under all conditions, especially the cold, wet, miserable ones where big bucks seem to materialize. This means getting into the hidden places where failures are born.
Let's break down the rifle into four key systems: the bore, the action, the exterior, and the optics.
1. The Bore
Beyond the Basics
Everyone runs a patch down the barrel, but a truly clean bore is the foundation of accuracy. After a few shots, two enemies build up inside your barrel: carbon fouling from burnt powder and copper fouling from the bullet jackets.
If left unchecked, this buildup can degrade accuracy over time.
A simple wet patch with gun oil won't cut it. You need dedicated solvents.
The Process:
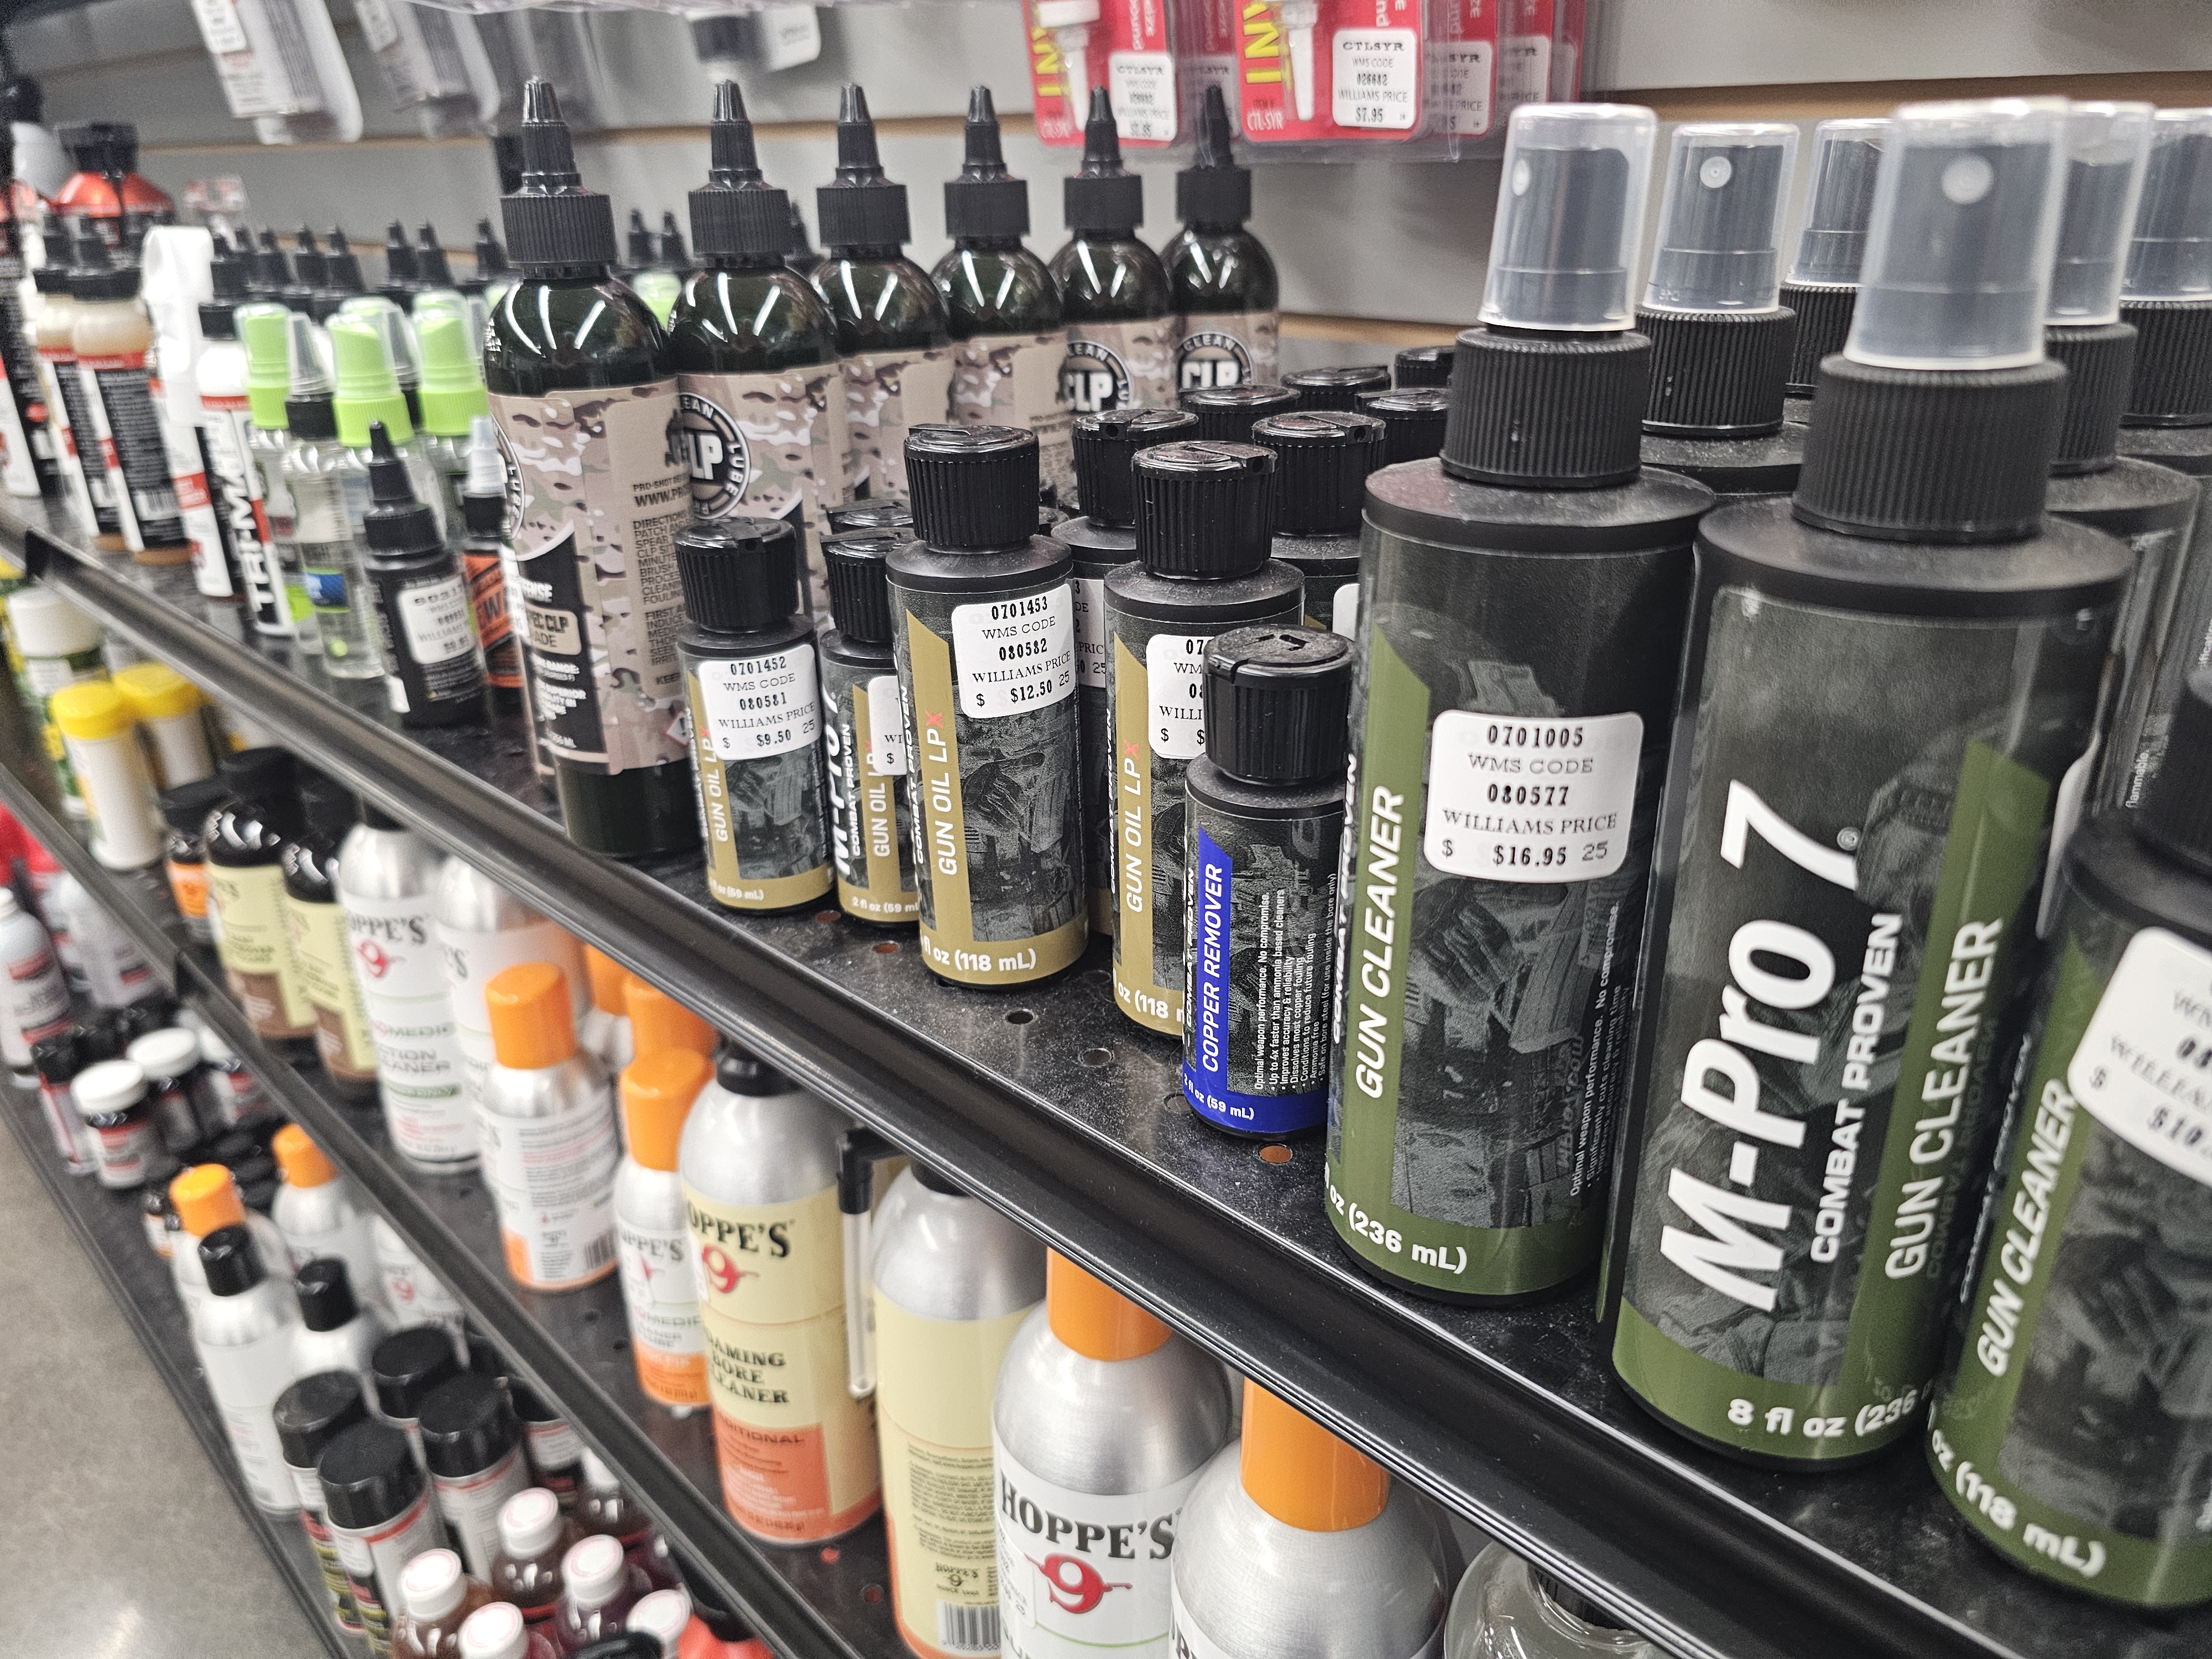
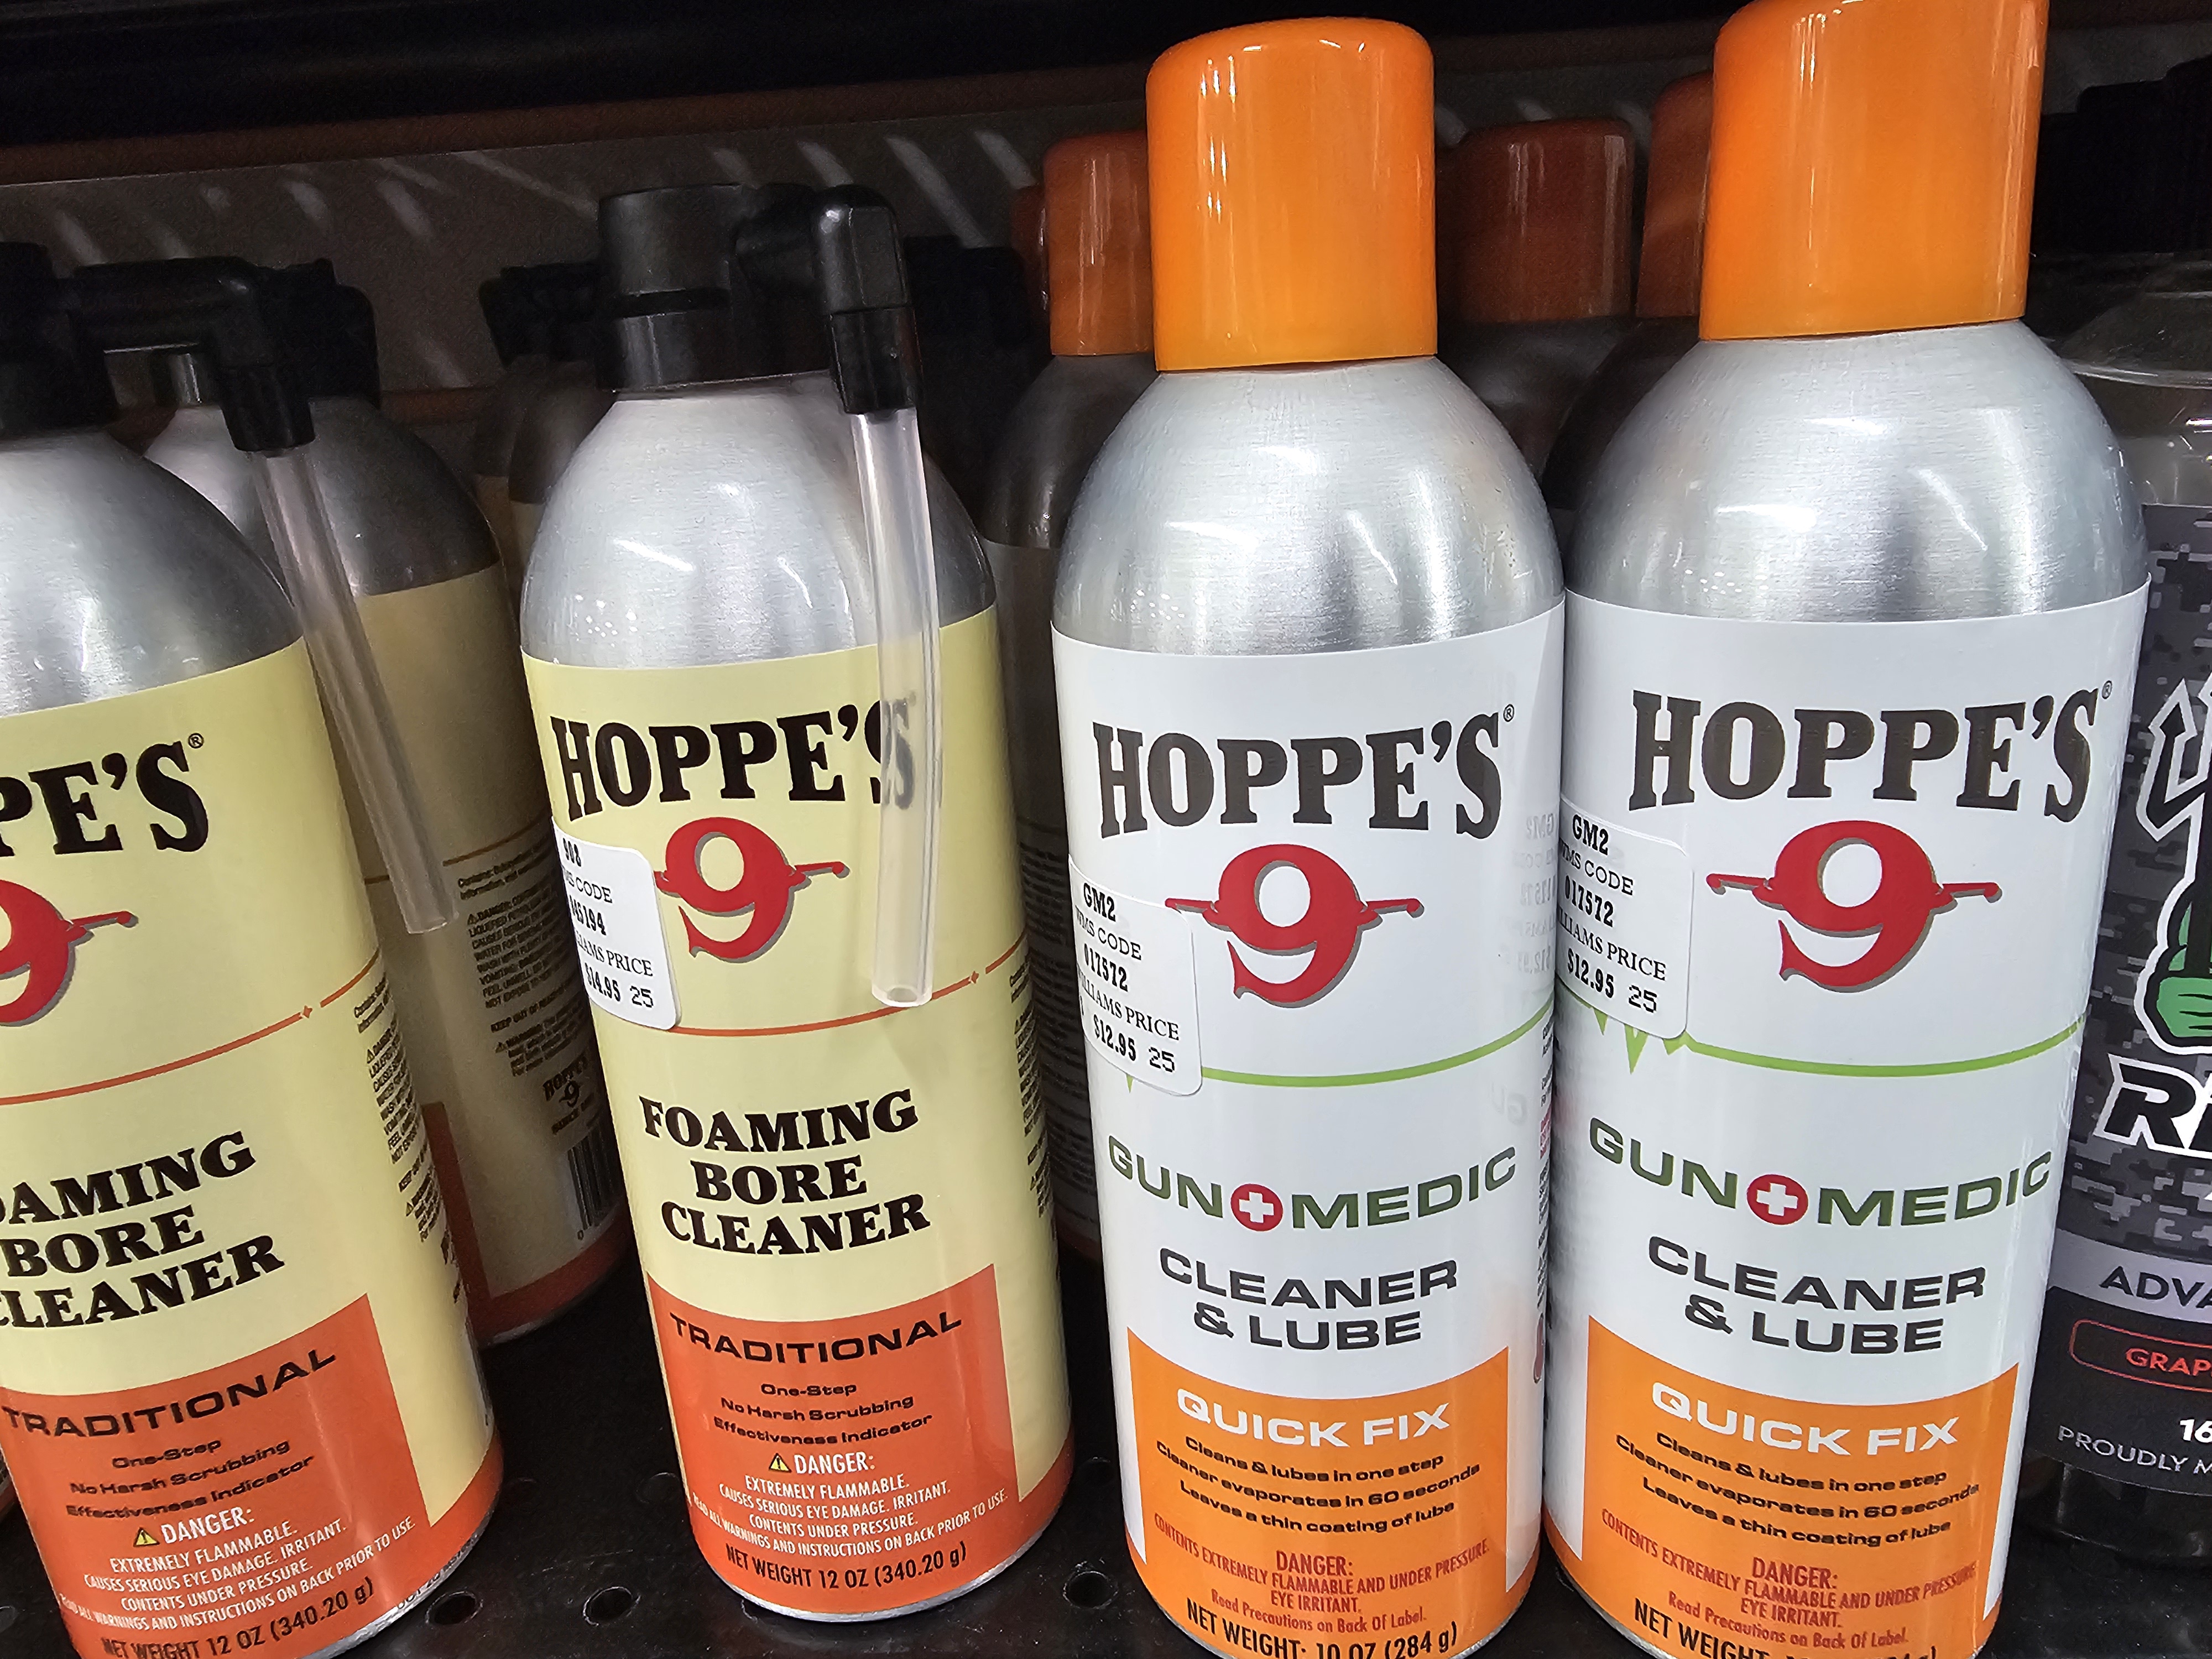
Start by using a bore guide to protect your rifle's action from drips. Run a patch wet with a good carbon solvent (like Hoppe's No. 9 or a modern equivalent) through the barrel. Let it sit for 10-15 minutes to do its work.
Get Brushing: Use a properly sized bronze or nylon bore brush and make 10-12 passes from the breech to the muzzle and back. You'll be amazed at the gunk this loosens.
Patch It Out: Run dry patches through until they start coming out relatively clean. Now, switch to a copper solvent.
Follow the directions on the solvent bottle, but typically you'll run a wet patch through and let it sit.
When you run a dry patch through after, it will likely come out with a distinct blue or green tint. That's the copper fouling dissolving.
Keep patching with the solvent and then dry patches until the blue/green disappears.
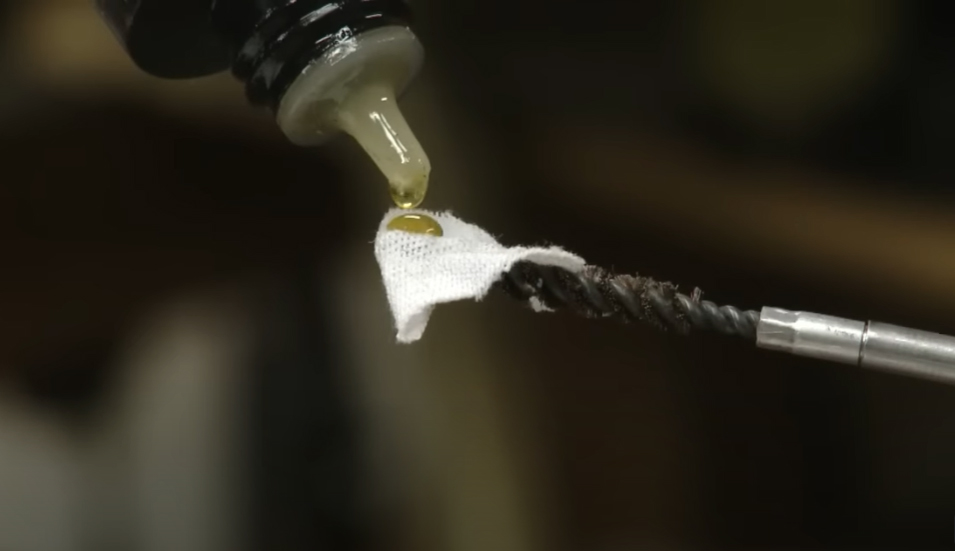
The Final Step: Once the bore is clean and dry, run one final patch with a very light coat of a quality gun oil through the bore to protect it from rust. Before you go hunting, run one last dry patch through to remove that excess oil, ensuring your first shot flies true.
2. The Action
Conquering "The Click"
This is where my hunt went wrong, and it's the most neglected part of most hunting rifles. While my story was about a bolt-action, the same principles apply to the semi-autos, pumps, and lever-actions many of you carry.
The action - the bolt, the trigger group, the firing pin - is the engine. Old oil, mixed with dust and microscopic brass shavings, turns into a thick, sticky varnish over time. In the cold, that varnish acts like molasses, slowing the firing pin or gumming up the cycling of the action.
You don't need to be a gunsmith to clean this. You just need the right tools: a can of aerosol gun scrubber (which dissolves gunk and evaporates completely) and a can of compressed air.
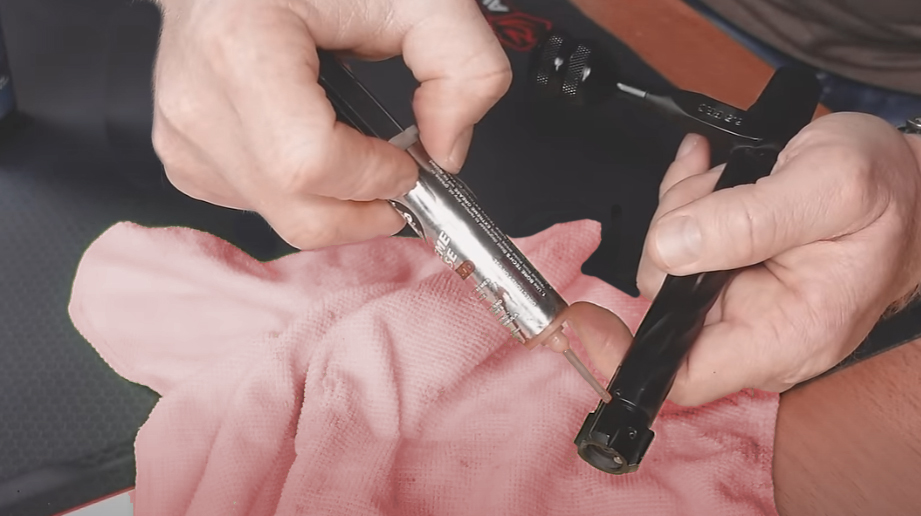
For Bolt-Actions:
Remove the bolt from the rifle. If you're comfortable, disassemble the bolt (it's usually a simple process you can find on YouTube for your specific model). If not, don't worry. Holding the bolt over a rag, liberally spray the gun scrubber into every opening, especially down the firing pin channel and around the extractor.
Use an old toothbrush to scrub away any visible grime.
Then, use the compressed air to blast everything out until it's perfectly clean and dry.
The 3 Rules:
1. Safety First: Always ensure the rifle is unloaded before cleaning.
2. Clean from Breech to Muzzle: When possible, clean the barrel from the breech end (the end closest to the chamber) to the muzzle end.
3. Use Appropriate Tools and Cleaning Agents: Utilize a cleaning kit and accessories that are the correct size for your firearm's caliber.
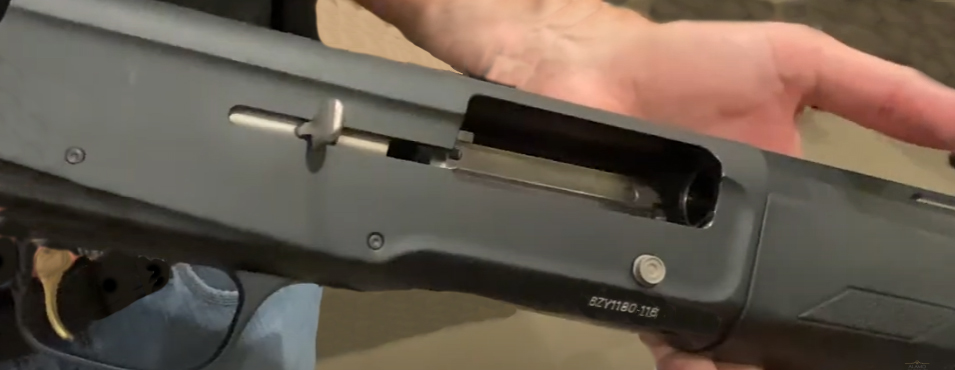
For Semi-Autos, Pumps, and Lever-Actions:
These actions are notorious for collecting unburnt powder and carbon. For semi-autos and pumps, you'll need to follow your manufacturer's instructions to remove the trigger group and the bolt carrier assembly.
Once it's apart, the process is the same: generously spray the bolt, firing pin, and trigger group with the gun scrubber. Use a brush to scrub the bolt face and the nooks and crannies of the action. Blast everything clean and dry with compressed air.
Pay special attention to the action bars on a pump and the gas system components on a semi-auto, as these are critical for reliable cycling.
For lever-actions where full disassembly is difficult, focus on spraying the cleaner into the open action and working the lever to dislodge grime, then blasting it out with air.
For the Receiver and Trigger (All Types):
With the action open or disassembled, do the same for the inside of the rifle. Spray the gun scrubber into the trigger assembly (if you haven't removed it) and the bolt raceways or action rails. Let the gunk drip out onto a rag, then blast it dry with compressed air.
You want the entire trigger mechanism to be spotless and completely free of any old lubricant.
3. Lubrication:
The Art of "Less is More"
Now that everything is surgically clean, we have to lubricate it correctly. This is where most people make the same mistake I did. They use too much oil, or the wrong kind.
Heavy, traditional gun oils are great for rust prevention but can thicken and gum up in the cold, slowing down everything from a firing pin to the bolt on a semi-auto.
The modern solution is a high-quality, synthetic gun oil or a dry graphite lubricant. These are designed to stay slick and functional across a huge temperature range without attracting debris.
The Bolt (Bolt-Action): Place a single, tiny drop of synthetic oil on the back of each locking lug, on the cocking ramp, and on the bolt shroud where it rotates. Work the bolt a few times to spread the film. That's it.
The Action (Semi-Auto/Pump): This is even more critical. Too much oil creates a soupy mess of carbon. Apply a very light film of synthetic oil to the action rails or surfaces where the bolt carrier slides. A little goes a long way.
The Firing Pin and Trigger (All Types): DO NOT oil the firing pin channel or the trigger assembly. A clean, dry trigger is a crisp, reliable trigger. A clean, dry firing pin is a fast firing pin. The aerosol gun scrubber has left them perfectly functional. Any oil here will just attract the dust and grime that caused the problem in the first place.
The Rule
Apply lubrication in microscopic amounts. We want a thin film, not a dripping mess.
4. The Exterior and Optics:
The Final Inspection
Metal and Stock: Once the internals are done, wipe down all external metal surfaces with a silicone cloth or a rag with a light coat of rust-preventative oil. If you have a wood stock, a little lemon oil or furniture wax can help protect it from moisture. Synthetic stocks just need to be wiped clean.
Optics and Mounts: The number one reason for a sudden miss isn't the rifle; it's the scope. Before the season, take a screwdriver or torque wrench that fits your scope mount screws and confirm they are all snug. They can and do work loose.
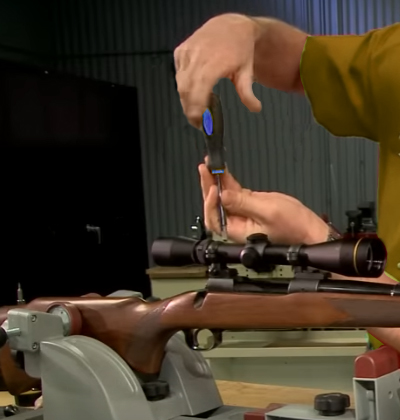
For the lenses, never wipe them when they're dry and dusty. You'll scratch the coatings. Use a can of air or a lens blower to puff off any debris first. Then, use a dedicated lens pen or a microfiber cloth with a lens cleaning solution to gently wipe them clean.
My gunsmith saved my future hunts by teaching me that a deer rifle is a precision tool that performs its most important job in the harshest conditions.
It deserves more than a cursory wipe-down. It requires a deep, functional cleaning that ensures when your heart is pounding and you squeeze the trigger, the only sound you hear is a reliable, deafening "BANG!"

Hunt safe, shoot straight, and may you never hear just that click.